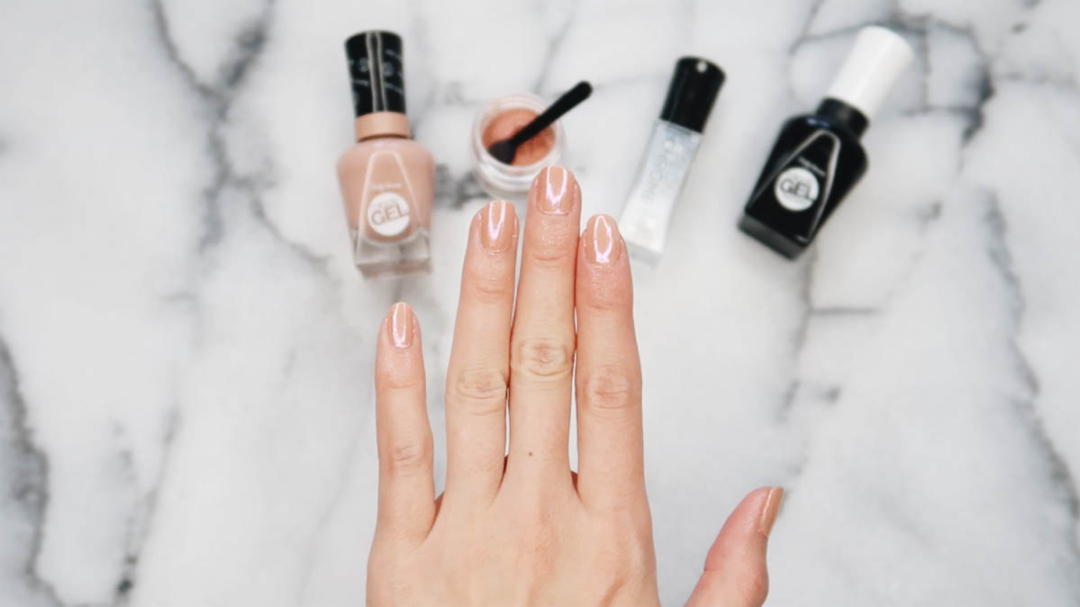
DIY ChromeNails 💅?? You better believe it! Sally Hansen just recently launched its limited-edition Chrome kit, available in three shades, and I had the absolute pleasure of testing out “Rose Gold”. I’m so impressed with the effect especially since you don’t need to go to the salon or use a UV light.
Chrome is one of this season’s biggest nail polish trends, and I love that you can create the look at home in just four easy steps! I can’t wait to try the other two colours, “Holographic” and “Gunmetal”.
Want to see how easy it is?? Catch the video tutorial I prepared below.
INSTRUCTIONS
Step 1: Apply two thin coats of Miracle Gel and allow to dry until tacky, approximately 2-3 minutes. *I found the sweet spot for dry time to be around 2:30. I used my phone as a timer.
Step 2: Dip included applicator into Chrome Powder, rub a small amount onto surface of nail in a back and forth motion using light pressure and watch effect appear! You really don’t need a lot of product to get the effect.
Step 3: Apply one thin coat of Special Effect Top Coat and allow to completely dry for 5 minutes. Set a timer you don’t want to put the top coat on too early.
Step 4: Seal with one coat of the Miracle Gel Top Coat! And that it.


No Comments